Yesterday, my friend Sara and I went to the Saturday Market in downtown Greenville.
(This is a picture from our senior year of high school. Sara and I are the two in the middle.)
I love any kind of farmer's market, so I knew this was going to be right up my alley! We saw a ton of lovely fruits and vegetables, as well as plants, pasta, cheese, and handmade items. It was a visual feast!
I didn't need to purchase most of the vegetables (we have a garden), but the fruit was calling my name.
Especially the peaches! I adore peaches. These were relatively small, but so, so sweet.
Next stop was a little canned goods stand. There were all kinds of homemade salsas, jellies, preserves, sauces, and whatnot. I almost walked away, but then something caught my eye.
Pumpkin Butter? I had never even heard of Pumpkin Butter, but I am a pumpkin fiend, so I knew I had to buy it!
And let me just say, it was even better than I thought it was going to be! I'm adding Pumpkin Butter to my "One Day, Some Day" list of things I want to make.
Next stop, the Peace, Love, and Soap booth.
I adore this handmade soap. It's a certified South Carolina product (which I also love!) I bought Lavender, Peppermint, and Lemongrass, but the lavender is my favorite! My favorite thing about this soap, though, is how it lathers. A lot of handmade soap doesn't lather up very well, but this one does. Peace, Love, and Soap has an Etsy shop... be sure to check them out!
After we left the farmer's market, Sara and I had lunch at a pizza place downtown, and stopped by a cute little vintage shop. I found this super cute little clutch for only seven dollars!
I think I might stitch on some little vintage brass buttons that came from my great-aunt to dress it up a little, but I absolutely adore the shape of it and the set in handle!
We also stopped in at Mast General Store. Being a small child (and a chubby one at that!) at heart, I was immediately drawn to all this yummy candy!
They sell it by the pound, so Sara and I made at least 5 trips around the candy, picking out the yummy treats we wanted to put in our baskets!
I was convinced my basket was going to weigh 16.9 pounds after I had added all my cherry licorice, mint candy, and DARK CHOCOLATE COVERED COFFEE BEANS! Which are, by the way, my new favorite candy ever!
I like to look at my treats almost as much as I like to eat them. (I'm playing nice and sharing, I promise!) I just want to sort them and count them. I think I've spent too much time in K4!
There are cherry licorice bites, dark chocolate covered coffee beans, Bazooka bubble gum, coffee prims, toffee, soft peppermint, Andes mints, crybabies, twix, reese's cups, and the one thing no candy bag would be complete without...
... a watermelon flavored blowpop.
Take some time, and go be a kid in a candy shop! Totally worth the 7.9 pounds I'm going to gain. :)
Sunday, June 13, 2010
Friday, June 11, 2010
Handprint quilt
While I was in Alaska, I woke up one morning with an idea in my head. I grabbed the hotel notepad, sketched it out, and went back to sleep. Fast forward a few weeks, and you've got this cute little handprint quilt!
I LOVE the way it turned out. I simply cut twelve 10" x 10" white blocks, and had each of my kids put their handprints on one of them in acrylic craft paint. I suppose I could have used fabric paint, but acrylic won't wash out and I had it on hand. I let each child write their name under their handprints with a paint marker (also will NOT wash out... learned that the hard way!). For the in between (can't think of the real word off the top of my head, but you know what I'm talking about!), I chose something that was cute, but still gender neutral. I cut a ton of 5" x 3" pieces and stitched them together for a patchwork look. I love that each child had a part of making something lasting, that I can take with me from my sweet little class this year.
On the twelfth block, I added a title and a sweet little handprint apple.
I'm a little crazy about handprints... you can make anything out of them! For the apple, simply paint the palm red and press. Paint the pinky brown and press on top for the stem. For the leaf, paint the thumb green and angle next to the stem, and voila! handprint apple!
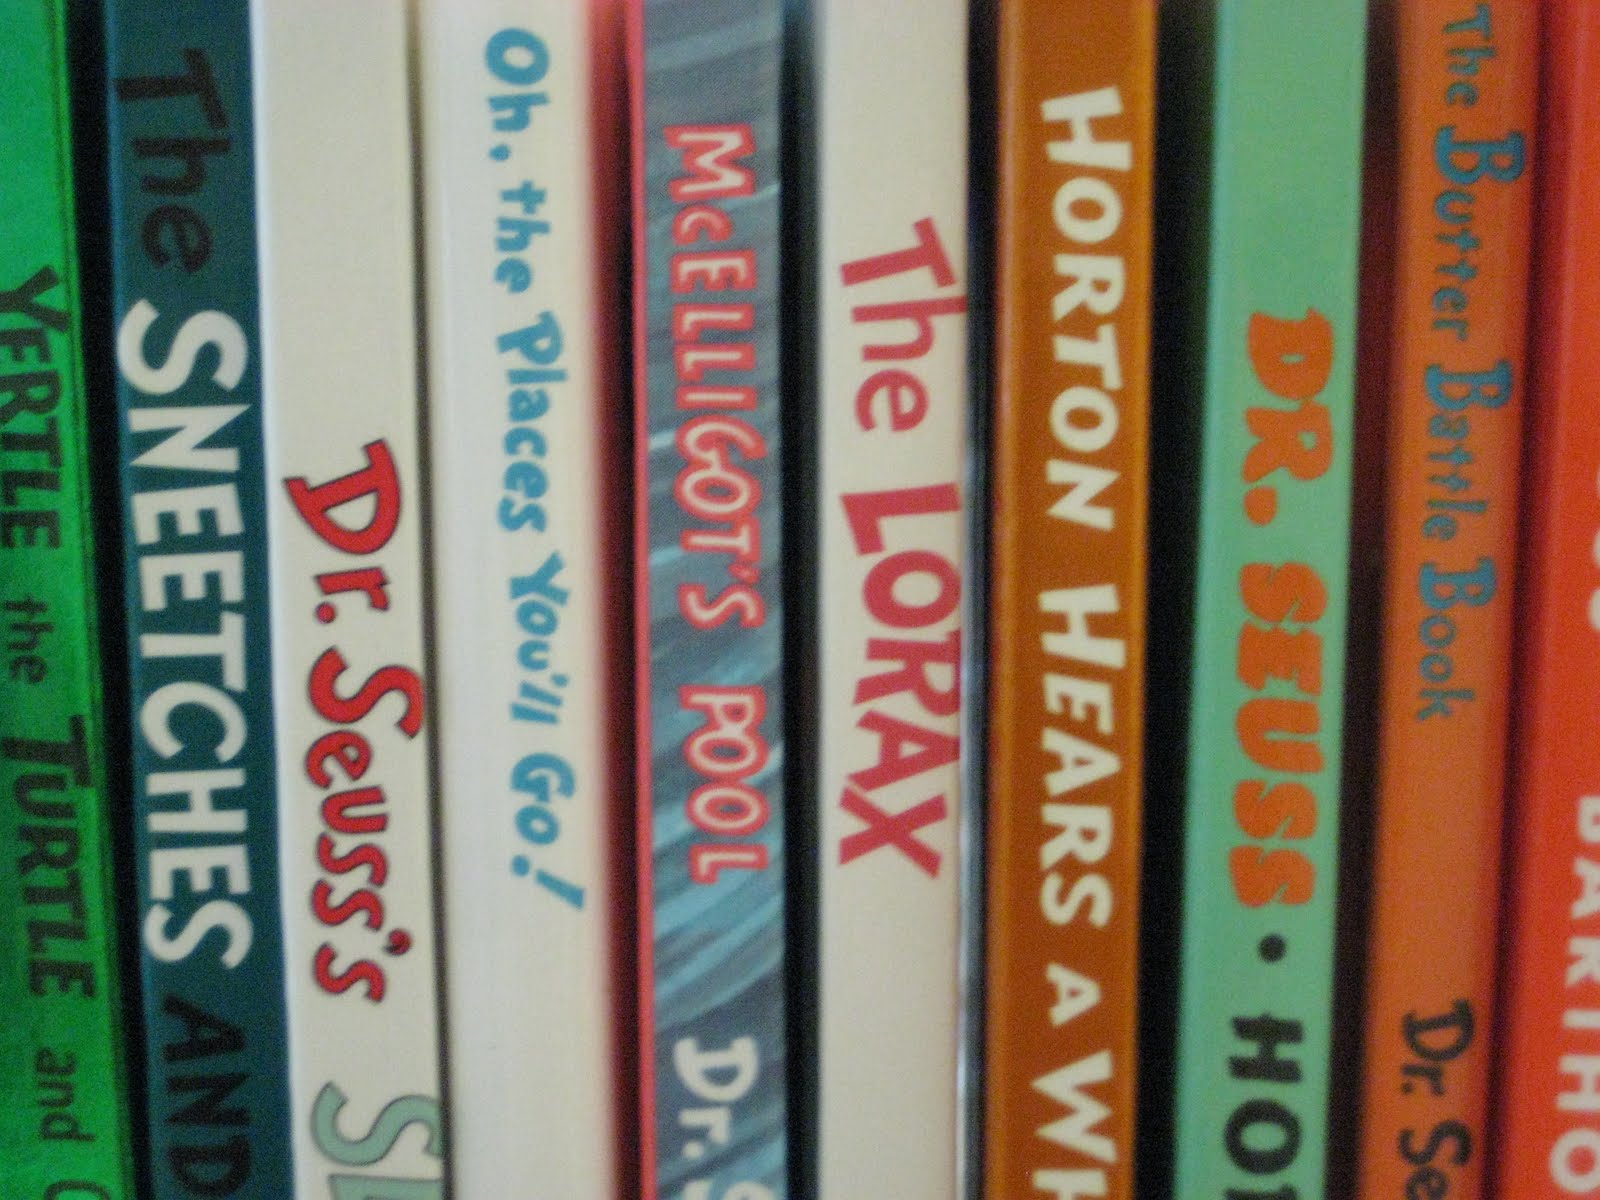
It's perfect for lying on your belly in the grass with a book, (by Dr. Seuss of course!)
eating a yummy, healthy snack picnic style,
or just looking at!
Such a sweet little quilt, made with the help of a sweet little class!
What Happiness is Made of...
Happiness is...
Going barefoot
Pretty pictures made just for me by my favorite kids
Food that doesn't come from the grocery store
This quote from one of my five year olds:
Sunscreen... happiness for this tanning addict turned safe sun fanatic
Friday morning chicken biscuit with hot sauce
...and last but most certainly not least...
The amazing guy holding my hand in this picture... he makes me the happiest of all!
Tuesday, June 8, 2010
Pardon the mess... under construction
Please excuse the randomness while I work on my blog. I'll be changing the look quite a bit, I'm sure, but I'm working on sprucing it up and making it easier to follow. Probably going to be a work in progress. :) Happy Tuesday!
Sunday, June 6, 2010
Spring Vacation?
So, as you may have noticed, I took a little unintenional break from blogging. I simply ran out of time. It started with a visit to South Carolina from a loved one who is stationed in Alaska... so of course, every extra moment was gladly given to him. Then it was one thing after another, a trip to Alaska (My first time in a plane! If HE wasn't waiting for me on the other end, I never would have boarded!), and K4 graduation. In case I haven't said, I teach K4... and I love it! We worked so hard on graduation, and it was incredible! I'm still looking for a video from it, and if I find it I'll post it. For graduation, we recited and did sign language to an excerpt from Dr. Seuss' "Oh, the Places You'll Go!", sang "My God is So Big", Seven days in English, Spanish, French, and Sign Language, "Fifty, Nifty United States", a song about space, a song about butterflies, "Forty-Four Presidents", Dr. Jean's "The Money Song", added to 10, and sang "Kindergarten, We'll Have a Blast" (to the tune of Summer Lovin' from Grease). Sounds like a lot for 5 year olds, huh? They were amazing and I am so very proud of them! As for my trip to Alaska... it was amazing, I have a post coming to tell you all about it!
Now, as for my crafting/sewing/general nerdiness... I have not taken a break from that! I just haven't photographed any of my work, but look for those and a few tutorials coming in the next few days!
It's good to be back!
Now, as for my crafting/sewing/general nerdiness... I have not taken a break from that! I just haven't photographed any of my work, but look for those and a few tutorials coming in the next few days!
It's good to be back!
Monday, March 29, 2010
I'm a slacker... a very busy slacker
So sorry for the lull in posting... This week has been CRAZY BUSY and really won't slow down for... a while. Holy goodness. Thinking about everything I have to do is so incredibly overwhelming, but I'm pulling through it. I've been working on a few things here and there (when I should be sleeping! I'm functional on three hours a night now! Should I be happy about this, or upset about this? We'll see) and I'll post them soon. I promise.
Tuesday, March 23, 2010
My First Quilt!
Well, I'm not even sure this actually qualifies for a quilt, but I love it! I love all the white space, I love the Nicey Jane fabric, I love the lap size... perfect for sitting out on the swing in the evening. I used a bunch of Nicey Jane charm squares and white Kona cotton. Super simple... I think that's why I love it so much... or maybe it's all the pink. :)
Tuesday, March 16, 2010
Pretty Patchwork Pincushions
Remember this post?
Well, I finally got around to putting that tutorial together... so here goes!
DISCLAIMER: I do things my way, not necessarily the best or the right way... but it works. Hopefully this will give you an idea on how it's done, and you can find your own best way to make them!
First, you will need:
6 charm squares or fabric scraps
4 buttons
matching embroidery thread
embroidery needle
compass or bowl
paper
scissors
sewing machine
rotary cutter
Start by picking out your charm squares or fabric scraps (make sure they coordinate). I love the Heather Bailey Nicey Jane collection, so I used some charm squares from a charm pack I had... can't wait to share what I'm doing with the rest of them! Arrange the prints in the order you want them... I tried to make sure I didn't have my florals together.
Set those aside. Take your compass and set it to whatever radius you want your circle to have. A 2-3 inch radius works best (4-6 inch diameter). If you do not have a compass, just trace a bowl! Cut out your circle.
Fold your circle in half, then fold the half circle into thirds. Tape it together. This is your template!
Start with your first piece of fabric. Fold it in half and place the middle of the arc of the template on the fold of your fabric.
Cut around the template, following the lines out to the fold of the fabric. DO NOT cut around the arc! Hint: Make sure you do not slice any of the template off... you don't want your pieces getting smaller as you go!
Once you have gotten all of your pieces cut, pin the first two pieces with the right sides together, and run them through your machine. I used a 1/4 inch seam allowance, but it really doesn't matter as long as you are consistent.
Now, take the template and put the point facing the unsewn point of the diamond, centering the arc over the sewn point of the diamond. Trace the arc so that the ends of the arc are on the seam. Sew over the arc you have traced.
Continue adding your pieces on this way until you have all of your pieces sewn together. On the joining seam, leave 1 inch at the bottom unsewn for turning and stuffing. Turn... and stuff! Make sure you stuff it full enough so that the pins won't slip out if your pincushion gets turned upside down.
Once you have gotten it stuffed, stitch up the opening. Thread your embroidery needle and stitch through the middle, covering each seam. Sew your buttons onto the middle. These are so great, because they are super cute, and hide all those stitches and knots from the embroidery thread... and adding them to the top AND bottom means you can use either side!
Voila! You're finished, and you have a cute new pincushion to use for yourself or give to a friend!
Old Dress? New Skirt!
I LOVE the fuller above the knee skirts that are so in right now! I can't get enough! I recently cleaned out my closet (again!) and remembered this dress.
I immediately saw a cute, pleated skirt... in my head. I think the only thing I liked about this dress was the color, fabric, and the pleats. I only bought it because I was literally an hour away from an event and it was the only thing I remotely liked. It's always been too big, but sometimes when I'm crunched for time, I don't think clearly.
So, old dress I've only worn once... goodbye! Hello, new cute skirt that I LOVE!
It was easy, but a little more detailed than I originally thought. I ended up having to detach and reattach the top. But from there I just had to move the zipper in the back down, and shorten the hem... a lot! I love the way it turned out... and I love living on a working "farm"... so many fun, outdoorsy backgrounds available for unique pictures!
Subscribe to:
Posts (Atom)